Sewing tutorial: Sew a meditation cushion yourself (with video!)
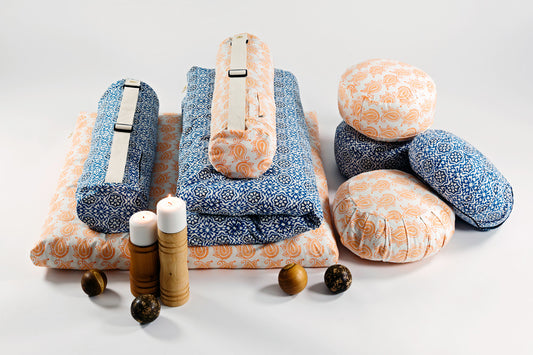
You can make this beautiful meditation cushion yourself - in your favorite color and the fabric of your choice.
In addition to the video, here are the detailed sewing instructions. Have fun sewing your own pillow! In our shop you will also find our ready-made sewing kits with all the materials to sew yourself or to give away!
Preparation:
Download the pattern and then print it out: Make sure that the printer is set to 100%. You can measure this using the control square.
NOTE: the pattern is designed in such a way that no side edges should be cut off after printing, you can take over the pages directly after printing.
Assemble the pattern as indicated and cut out the pattern pieces to the desired size.
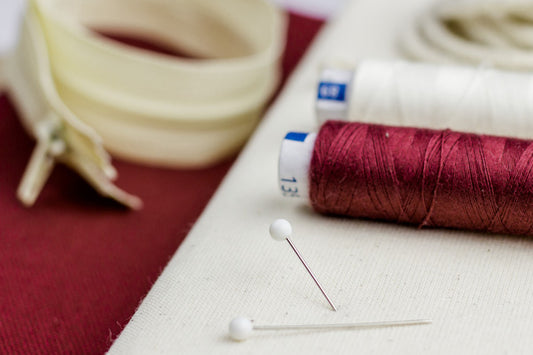
Material:
Fabric for the inner cushion: approx. 40 cm medium-weight cotton (fabric width 140 cm)
Fabric for the cover: approx. 50 cm cover fabric for the outer cushion (e.g. twill or canvas)
Matching sewing thread
Zipper 22cm
approx. 1.5 m cord for the bottom closure
Spelled or buckwheat husks for the filling
Printed patterns and sewing instructions
Crop:
For all parts (apart from the cover circle) you should allow for a seam allowance of 1.5.
Inner cushion: 1x full circle, 2x semicircle, 1x inside in the fabric fold
Outer cushion: 1x handle, 1x full circle, 1x outside in fabric fold, 1x covering circle
Iron:
Iron the seam allowance of the straight side of the two semicircles inwards.
Then iron the seam allowances of the short sides on the inside inwards.
Iron the handle in half.
Then iron the outside inwards along the tuck, the seam allowance of the drawstring inwards at the top, the corners along the marking (at both ends) inwards and at the top another 2.5 cm (also marked) inwards – this makes the drawstring!
neaten:
You can clean up all the edges before assembling.
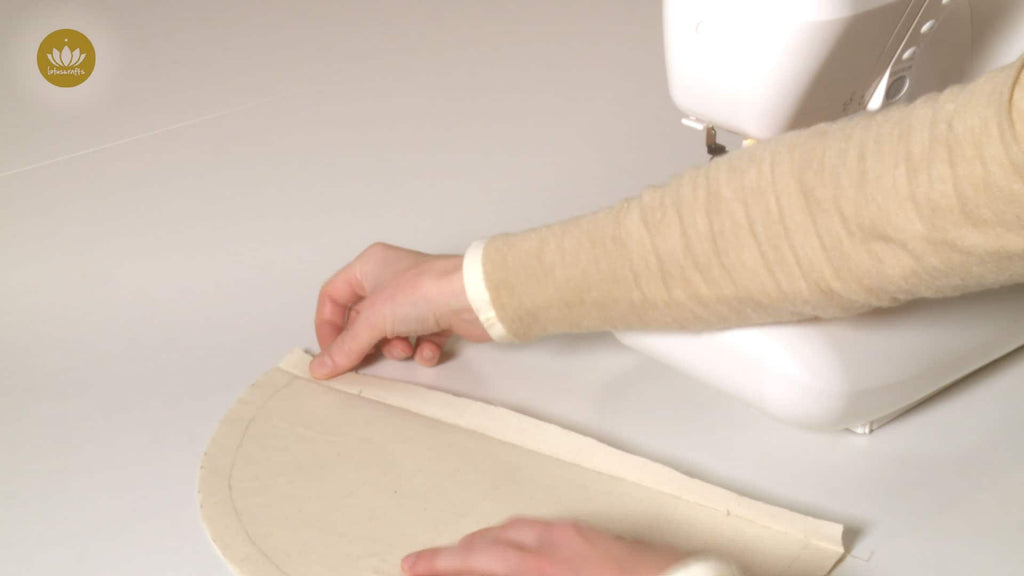
Sew:
inner cushion
Place both semicircles on top of each other, right sides together. Sew along the straight top and bottom to the mark.
Sew the zipper between the two semicircles.
Sew the inner side to the resulting circle, right sides together (caution: only start after the seam allowance and at the middle seam). Our tip: mark quarters on the circle and side panel and pin them together before sewing!
Unzip for later turning.
Sew the entire circle onto the resulting round of the side piece, right sides together. Our tip: pin at right angles to the seam line. When sewing, the side part is at the top, the circle at the bottom - this makes it easier to prevent wrinkles!
Close the short sides of the inside with a straight seam.
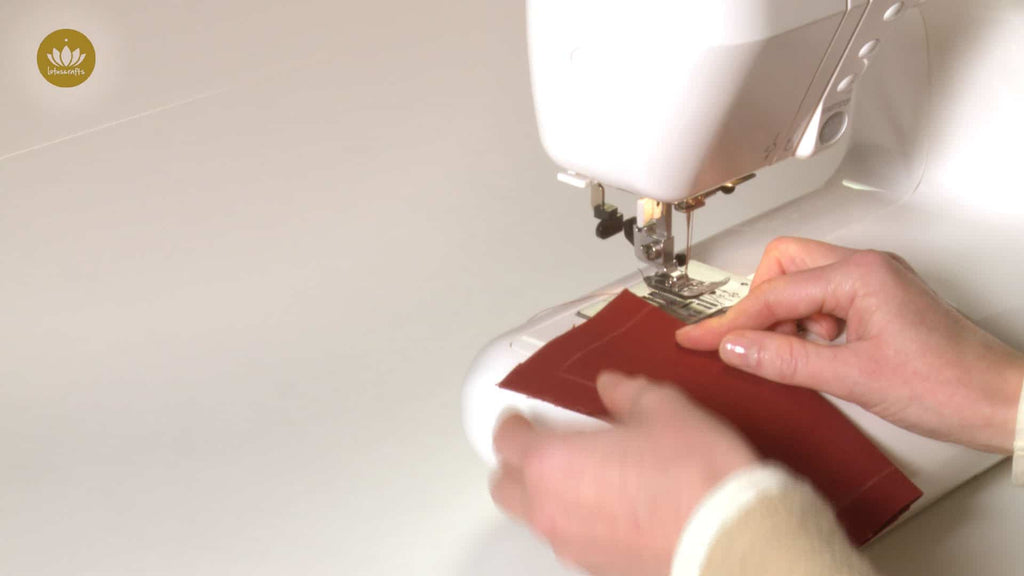
outer cushion
Sew the handle: Fold the handle in half lengthwise and sew the long side right sides together. Place the resulting seam on the crease (ie the seam is in the middle of the handle), iron again and close one short side. Then turn.
Sew the tuck on the right side of the fabric as close to the edge as possible (the drawstring is on the underside). Sew in the finished handle with the closed side.
Now you can trim the cover circle.
Sew the ironed-in drawstring 2 cm from the top. Sew on the covering circle as well.
Sew the outside to the whole circle - you can sew in the loose side of the handle as you do this.
Close the short sides on the outside with a straight seam.
Now you can turn everything over and pull the cord through with a safety pin.
 Assemble the pattern as indicated and cut out the pattern pieces to the desired size.


There are no comments yet. Be the first to leave a comment!