Set-Offers
Save when you buy a set
Shopping cart
Your shopping basket is empty
Yoga

Meditation
Bundles

| Atemtechniken
You already know that yoga and breathing are inseparable and have a lot of health benefits - in our blog post on pranayama we have already introduced you to the first breathing exercises and briefly explained them.
Today I would like to go into a very specific breathing exercise: Kapalabhati, my favorite companion on tired mornings.

If you have ever attended a yoga class, it may well be that you already know Kapalabhati by a different name and maybe even have practiced it before - does “fire breathing” or “rapid breathing” mean something to you?
If not, it doesn't matter: Kapalabhati is a breathing exercise from the yoga world, which is also known as fire breathing. The exhalation plays a crucial role in this exercise.
This creates the classic effect that is already reflected in the name of the exercise: the word kapala means skull, while bhati stands for the light or glow - so the purpose of the exercise is to make the skull "light up". And Kapalabhati can do that without a doubt.
As already mentioned, the highlight of this breathing technique is that the full concentration is on the exhalation and the inhalation takes place "on the side". In one sentence, Kapalabhati would be explained as simply breathing out quickly and powerfully over and over again - easier said than done, because rapid breathing needs a little practice for it to work properly.
Here we explain the individual steps in more detail:
To help you, imagine that you have a piece of paper under your nose that you want to blow away with a quick snort.
As you exhale quickly, your abdomen and diaphragm should jerk inward. Feel free to place your hand on your stomach for a few breaths to check - if it pulls inwards when you breathe out, you're doing it right.
Admittedly, when I first practiced Kapalabhati, for a brief moment I had the image of a person who is hyperventilating and therefore has to breathe into a bag - so from the outside and at the beginning the breathing exercise might seem a little strange and you ask himself: "Okay, and that's supposed to be healthy?"
The answer is yes. Rapid breathing brings with it a host of health benefits, both for the body and for the mind. The exercise not only brings clarity and energy and thus sharpens awareness, but...
As you can see, it is definitely worth giving Kapalabhati a chance and trying out the exercise.
As with all exercises, there are unfortunately contraindications for Kapalabhati, which speak against carrying out this breathing technique.
In the first place, Kapalabhati should be avoided by those with problems in the lungs. These include diseases such as
This also applies to people who have heart disease or severe high blood pressure, as Kapalabhati can have an unfavorable effect on the cardiovascular system in this case. Even with an acute herniated disc, the exercise can have a negative effect on the back and should therefore be avoided at first. Finally, pregnant people and people with epilepsy should not practice Kapalabhati.
If in doubt, please ask your doctor or the yoga teacher you trust beforehand whether you can do the exercise without hesitation.
Opinions differ as to whether Kapalabhati can and should be performed during pregnancy. At this point we would like to expressly advise against practicing the breath of fire during pregnancy - not only because the increased oxygen concentration in the blood can quickly lead to unpleasant feelings of dizziness, but also because the pressure on the abdominal wall can be very high during this exercise.
If you still want to do the fire breath, please talk to your doctor beforehand, take it slow and definitely refrain from holding your breath.
Before we release you to the exercise, we would like to give you a small tool. It can be difficult, especially in the beginning, to find your own rhythm while concentrating on performing the exercise correctly and maintaining a steady pace.
To start with, it can therefore make sense to practice with audio support - here we have linked a suitable YouTube video that you can use.
And now: Have fun on the mat! :)

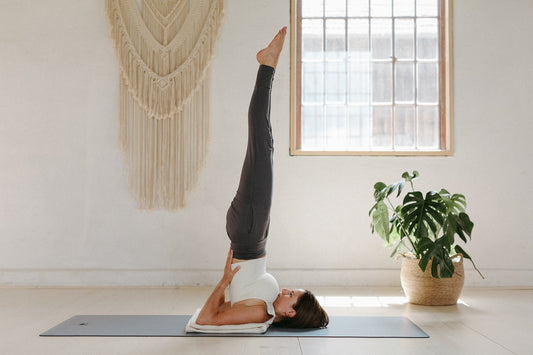
Some of you probably know the Shoulderstand (Sarvangasana) from childhood: The “candle” was one of the exercises that I liked best in elementar...
Continue reading
In our fast-moving world, we are constantly busy: we plan, analyze and are usually somewhere else mentally. For many, this is the only rhythm they...
Continue reading
There are no comments yet. Be the first to leave a comment!